

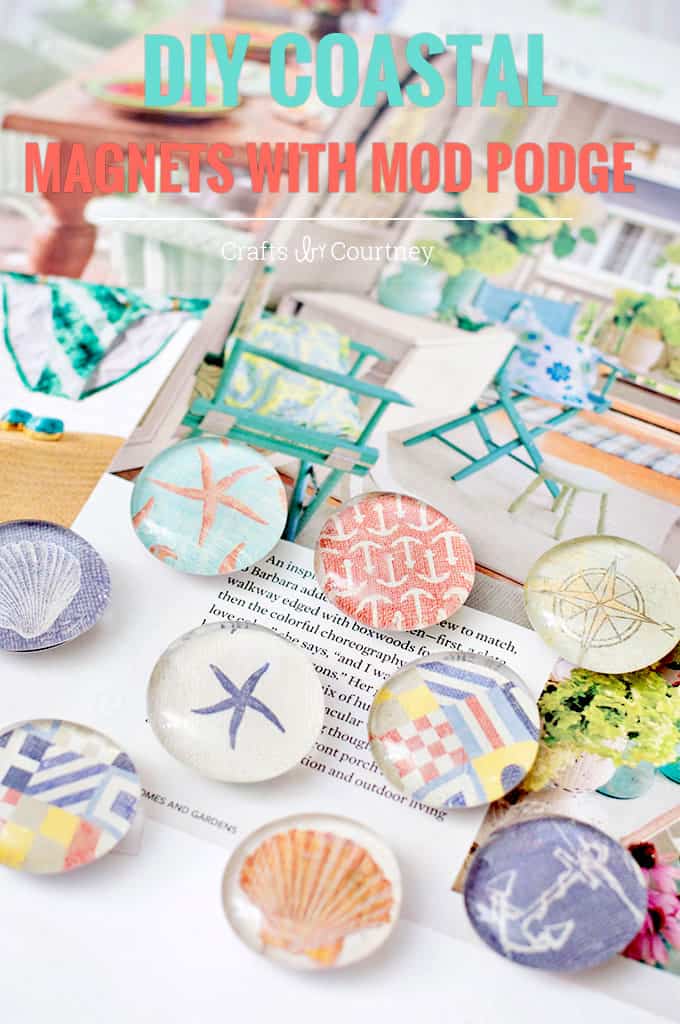
How To Make Homemade Magnets
Jump to How-To
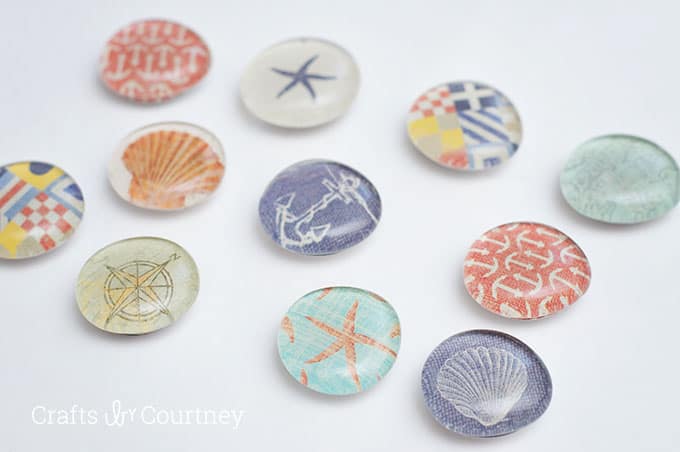
These DIY magnets are Then easy to make with decoupage medium and scrapbook paper! They have a fun nautical theme and make not bad gifts.
Skills Required: None. Y'all don't need any prior crafting skills to make these magnets – they are elementary enough for anyone to make, including children.
Hello, it'southward Courtney again with Crafts by Courtney! This time I wanted to share with anybody these easy, cuteDIY Magnets I made using scrapbook paper. The all-time part about these glass magnets you can customize them whatsoever mode you want! It'southward an easy craft for kids – not merely adults.
I of course pulled out my "trusty" pack of littoral theme scrapbook paper for this decoupage idea so that I could employ them as beach decor. But the scrapbook paper possibilities are endless out there! Learn how to make these fridge magnets beneath.
DIY Magnets with Mod Podge
Get together These Supplies
- Mod Podge Matte
- Scissors
- Circumvolve punch (optional)
- Scrapbook paper
- Magnets
- Marble accents
- Glue (like E-6000)
- Foam castor
Getting Started
E'er since I found these groovy packs of coastal/nautical theme scrapbook paper at Hobby Lobby I knew I wanted to brand some magnets for the fridge.

I already had all the supplies on manus except the marble accents. I found those at JoAnns for $6.00 a pack. Of course I used my "Handy Dandy" 40% off coupon!! A couple days later I did end by the Dollar Tree and saw they have smaller packs there too.
I was super excited to get started on my DIY magnets!
Step i – Punch Out Circles
I have a couple circle punches left over from my scrapbooking days. So I had a circle dial that fit perfectly.
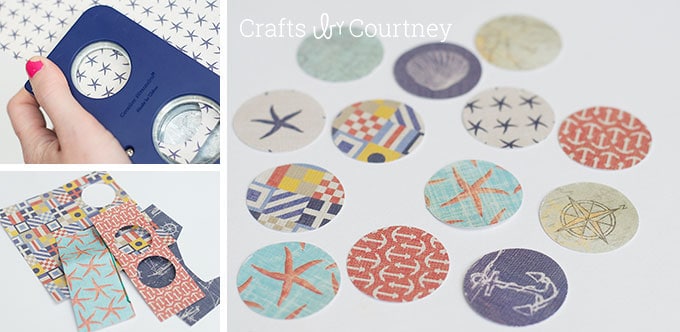
But my 2d selection if the circle punch didn't work was to trace out the circle with one of the drinking glass pieces and cut out. SO, you lot don't necessarily need a dial for this pace.
Pace ii – Add Circles
At present it'due south time to add together our scrapbook paper. YAY!!
I painted on a piddling Modernistic Podge to the back of the drinking glass pieces and gently placed my scrapbook paper on summit. I made sure to smoothen down with my fingers to keep any air bubbles from popping up.
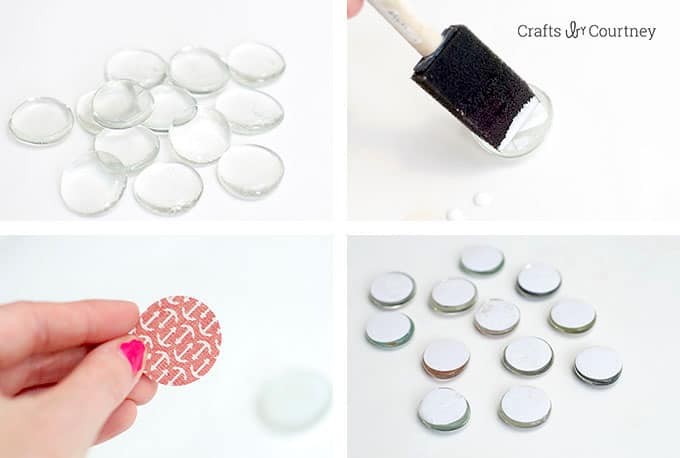
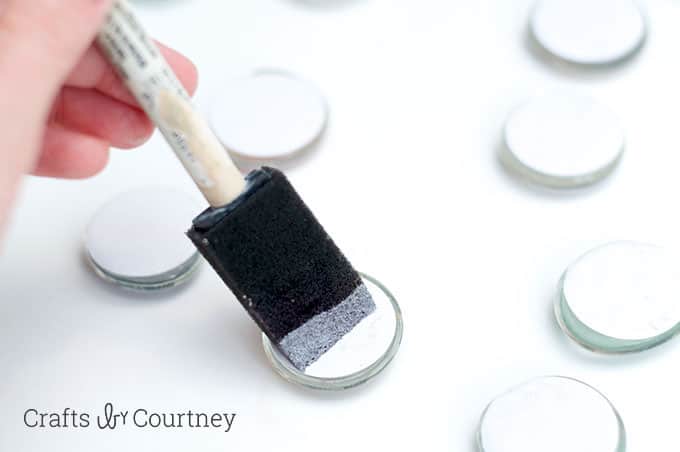
Stride 3 – Seal in Circles
Side by side I added a little Mod Podge to the backs of my DIY magnets and allow dry out 20 minutes.
Step 4 – Add Magnet
Finally it'due south fourth dimension to add the magnets! I found this pack of magnets at WalMart about two years ago. I needed them to hang my son's task chart upwards on the fridge. They are pretty awesome! Only add together a dab of Due east-6000 glue to the back and and so firmly press on your magnet.
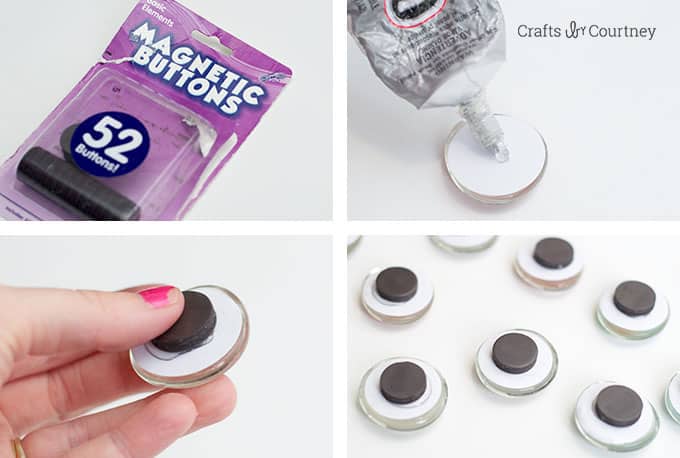
My son thought they looked like giant googly eyes.
Finishing Touches
Now but let your magnets dry for about three hours then you're prepare to start using them!!
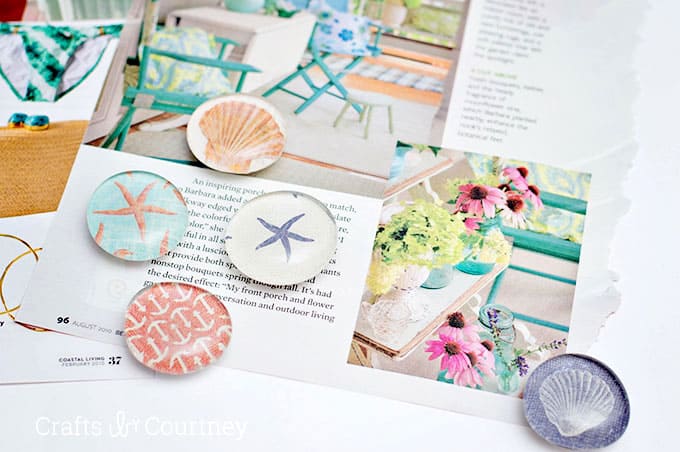
These nautical Modernistic Podge magnets are not bad. I can first displaying my kids artwork or important papers I get from their school. Plus they are pretty heavy duty and can hold several pieces of paper. I hate getting magnets that can only hold one or 2 pieces of paper.
Cheers for stopping by and checking out my latest project! These really were such a piece of cake projection to work on. I retrieve I desire to make some with a kids' theme next.
Prep Time ten minutes
2Active Fourth dimension 20 minutes
Total Time xxx minutes
Difficulty Easy
Estimated Cost $six
Materials
- Modernistic Podge Matte
- Scrapbook newspaper
- Magnets
- Marble accents
- Gum
- Foam brush
Tools
- Scissors
- Circle punch (optional)
Instructions
- Punch out the circles using a circle punch. If you lot don't have a circle dial, trace the magnets on the scrapbook paper and cut out with scissors.
- Pigment Mod Podge on the dorsum of the marble pieces with a foam brush. Gently place the scrapbook paper on elevation and smooth down.
- Add more Mod Podge on the dorsum and let dry for 20 minutes.
- Add a dab of E-6000 gum to the back and so firmly press on your magnet.
- Allow your magnets dry for several hours before using or gifting.
If you enjoyed this summer craft project, I'd love for you to check out these other ideas:
Source: https://modpodgerocksblog.com/diy-magnets/
Posted by: motleywillynat81.blogspot.com
0 Response to "How To Make Homemade Magnets"
Post a Comment